Direct Monitoring Explained: How to Record With Zero Latency
- Audio Interface, Setup and Tutorials
- by Bruno Bontempo
Stop recording with delay! Learn exactly how Direct Monitoring works, why it eliminates latency, and how to set it up on any audio interface.

Direct monitoring is a powerful tool that allows you to hear your audio signal in real-time, without latency. This is essential for musicians, producers, and podcasters who need to monitor their audio accurately.
In this guide, we’ll delve into the world of direct monitoring on Focusrite interfaces, exploring how to set it up, optimize it, and troubleshoot common issues.
1. What is Direct Monitoring?
Direct monitoring is a technique that allows you to hear your audio signal directly from the input source, bypassing the computer’s audio processing.
This eliminates latency, which can be a major issue when recording and mixing audio.
By using direct monitoring, you can hear your performance accurately and make real-time adjustments to your playing, streaming or mixing.
2. Latency and Direct Monitoring
Latency, the delay between input and output, can significantly impact your direct monitoring experience. While Focusrite interfaces are designed to minimize latency, it’s still important to be aware of the factors that can contribute to it. Here are some tips for minimizing latency:
- Use a low buffer size: A lower buffer size will reduce latency but can increase CPU load.
- Choose a high-performance audio interface: A high-quality interface with low-latency drivers can help minimize latency.
- Optimize your DAW settings: Close unnecessary plugins and reduce the number of tracks in your session.
3. Understanding Direct Monitoring in Audio Interfaces
When you use software monitoring, your audio signal travels through the interface, into the computer, through the DAW, and back out to your headphones or monitors. This process introduces latency (delay).
With direct monitoring, the audio signal is split at the interface level:
- One path goes directly to your headphones or monitors for real-time listening.
- The other path is sent to the computer for recording.
Focusrite interfaces typically have a dedicated direct monitoring control, usually a rotary knob or a switch. This control allows you to choose between different monitoring modes:
- Mix: This mode blends the input signal with the output signal from your DAW. This is useful for monitoring your recorded tracks while simultaneously playing live instruments.
- Cue: This mode allows you to monitor a specific input or output channel, which is useful for soloing tracks or creating custom monitor mixes.
- 100% Input: This mode sends the input signal directly to your headphones or monitors, bypassing the DAW entirely.
4. Benefits of Direct Monitoring
- Latency-Free Recording: Latency can disrupt performances, but direct monitoring solves this issue by bypassing the computer’s processing.
- Improved Performance Confidence: Real-time monitoring ensures you stay in sync with your audio, improving vocal and instrumental performances.
- Simple Setup: Focusrite’s direct monitoring feature is user-friendly, making it accessible even for beginners.
Versatility: Works well for vocals, instruments, and even podcasting applications.
5. Setting Up Direct Monitoring
Setting up direct monitoring on a Audio interface is relatively straightforward. Here’s a basic setup guide:
- Connect your instruments and headphones or monitors: Connect your instruments to the instrument input on your interface and your headphones to the headphone output.
- Configure the direct monitoring control: Set the direct monitoring control to your desired mode (mix, cue, or 100% input).
- Adjust input and output levels: Use the gain knobs on your interface to adjust the input levels and the volume knob on your monitors or headphones to adjust the output level.
- Set Up Your DAW: Ensure software monitoring is disabled in your DAW to avoid hearing duplicate signals (one with latency and one without).
- Start recording! Your audio will be captured without latency, ensuring a smooth experience.
6. Optimizing Your Direct Monitor Mix
To get the best possible sound from your direct monitor mix, you’ll need to optimize your setup. Here are some tips:
- Balance input and output levels: Avoid clipping by setting the input levels to appropriate levels.
- Adjust monitor levels: Find a comfortable listening volume that allows you to hear all the details in your mix.
- Experiment with EQ and compression: Use EQ and compression to shape the sound of your monitors.
- Improve your listening environment: Treat your room acoustically to minimize reflections and improve sound quality.
7. Troubleshooting Common Direct Monitoring Issues
If you’re experiencing issues with your direct monitor setup, here are some common problems and solutions:
- Latency issues: Try lowering the buffer size in your DAW, closing unnecessary plugins, or using a high-performance audio interface.
- Sound quality problems: Check your cable connections, adjust input and output levels, and experiment with different monitor placement.
- Headphone issues: Make sure your headphones are plugged in correctly and that the headphone volume is set to an appropriate level.
By following these tips and troubleshooting techniques, you can unlock the full potential of direct monitoring on your Focusrite audio interface and achieve optimal sound quality and low-latency performance.
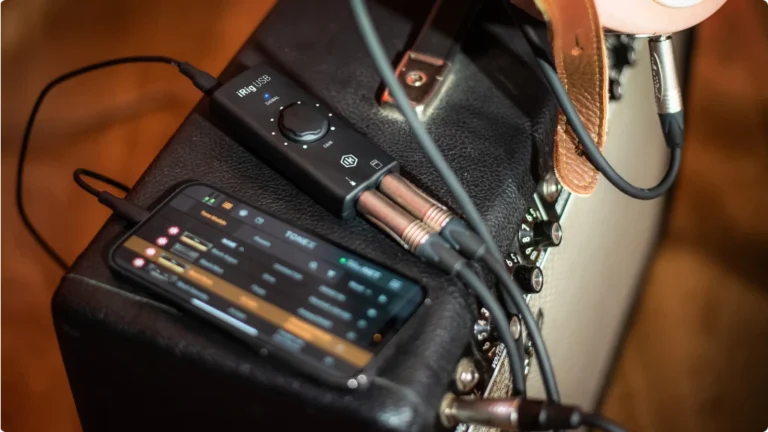
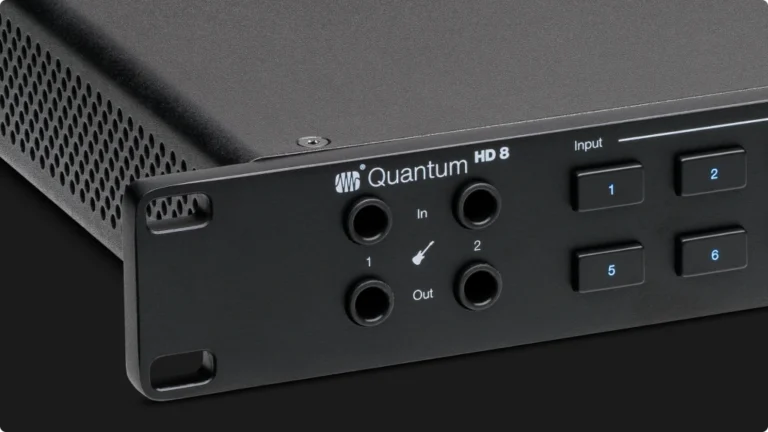
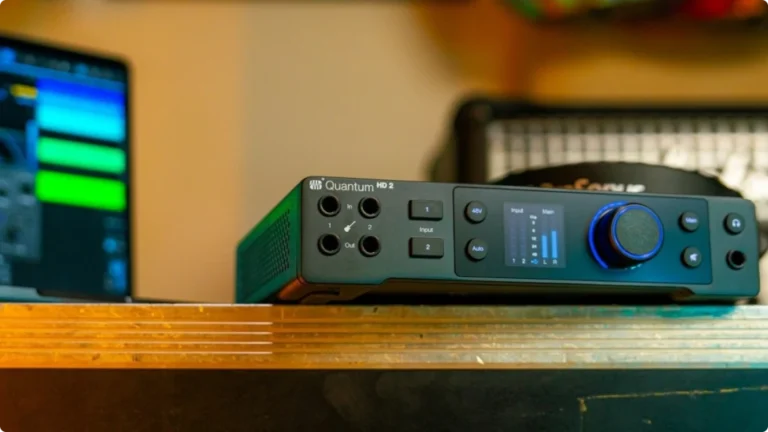
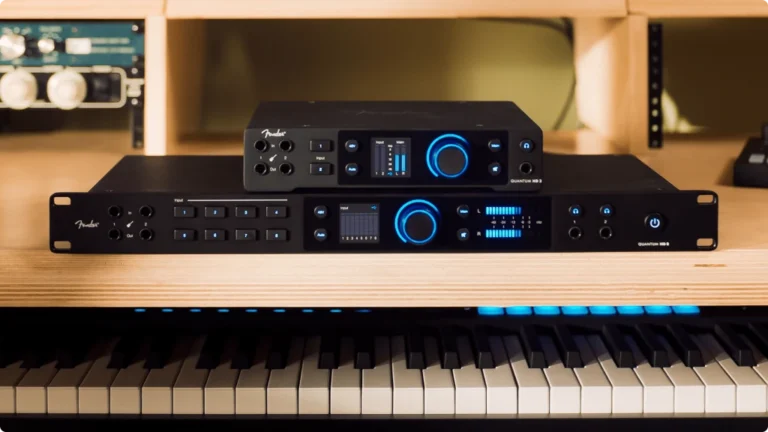
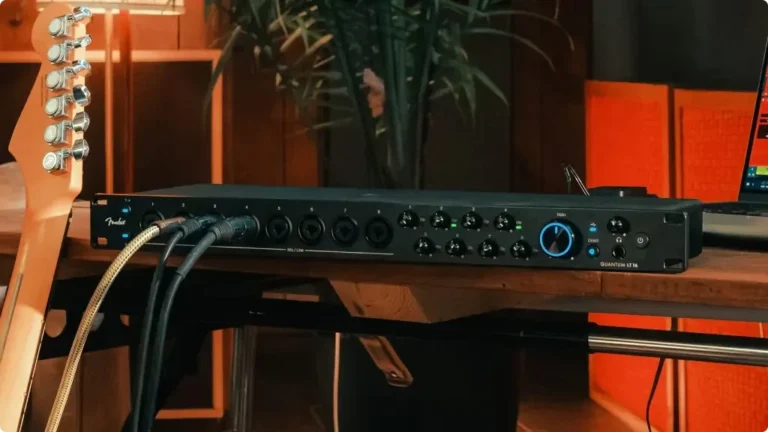
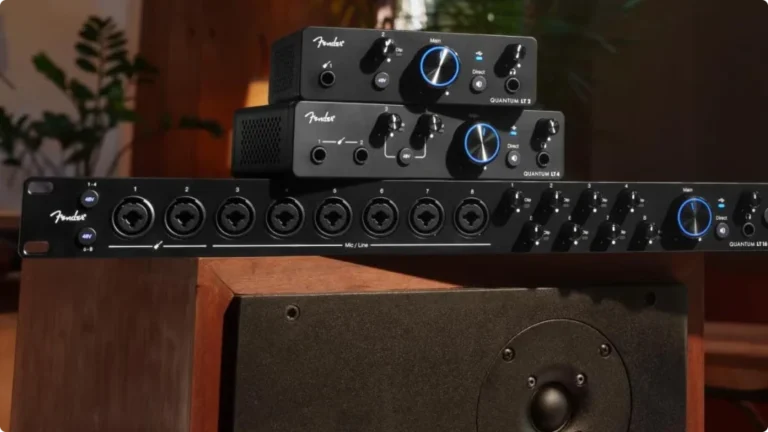
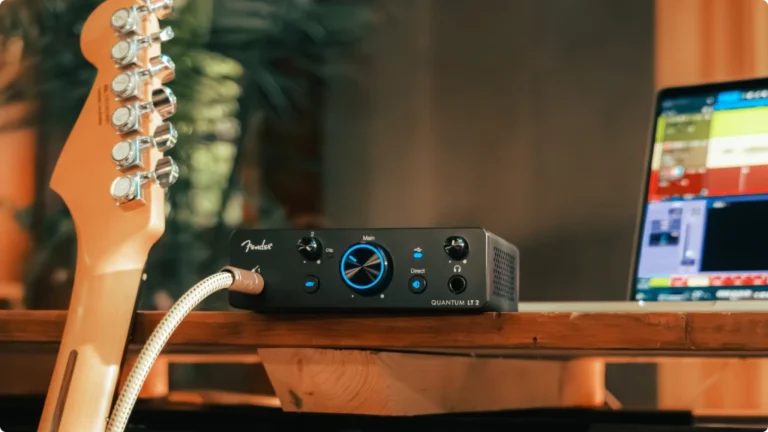
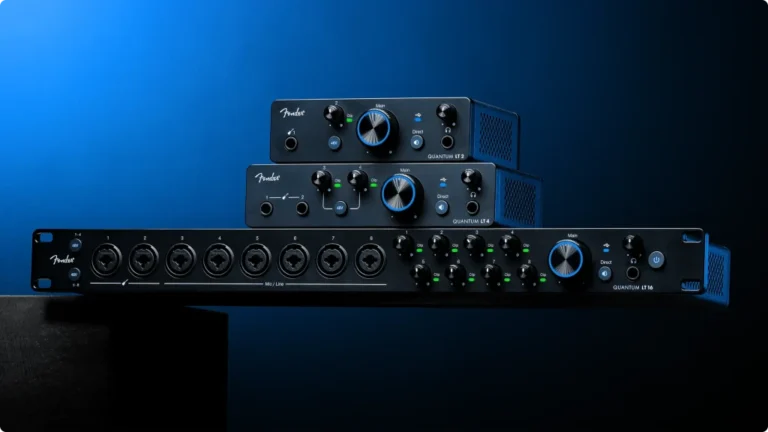
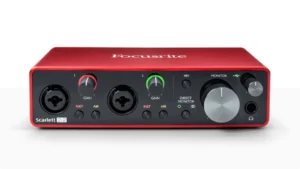
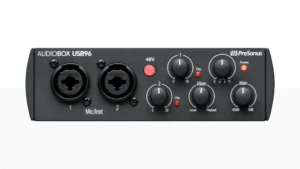
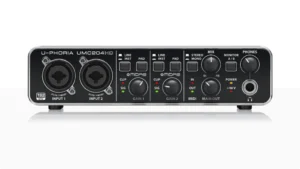
8. Audio Interfaces Featuring Direct Monitor
Focusrite’s simple and effective implementation of direct monitoring makes their interfaces an excellent choice for beginners and professionals alike, although, many other brands and models also offer the direct monitoring feature. Heres is some of them.
Read Full Review

Read Full Review
Read Full Review
Read Full Review
9. Conclusion: Mastering Direct Monitor
The direct monitor focusrite feature is a must-know tool for anyone serious about recording. By offering latency-free monitoring, it enhances performance confidence and ensures professional-quality recordings.
Whether you’re a podcaster, musician, or streamer, understanding and using this feature can elevate your audio game.
FAQ
Do I need special headphones for direct monitoring?
No, any standard headphones will work with direct monitoring. Just ensure your headphones have a ¼” or ⅛” connector compatible with your Focusrite interface.
Does Direct Monitoring Work with All Microphones?
Yes, direct monitoring works with both dynamic and condenser microphones. For condenser mics, ensure your Focusrite interface provides phantom power if needed.
Can Direct Monitoring Be Used for Podcasting?
Absolutely! Direct monitoring ensures podcasters hear themselves and their co-hosts or guests in real-time, eliminating distracting latency.
Does Direct Monitoring Affect Sound Quality?
No, direct monitoring provides a clean, unprocessed signal for monitoring purposes. The recorded audio retains its high quality.
| ALSO REVIEWED